Installation and Deployment
Deploying ArgoCD is straightforward. Use the official high-availability (HA) deployment method:
Copy
1
2
kubectl create namespace argocd
kubectl apply -n argocd -f https://raw.githubusercontent.com/argoproj/argo-cd/v1.5.2/manifests/ha/install.yaml
You can customize the deployment file as needed. After the pods are successfully started:
Copy
 1
 2
 3
 4
 5
 6
 7
 8
 9
10
11
12
13
14
15
16
17
18
# kubectl -n argocd get pod
NAME                                             READY   STATUS    RESTARTS   AGE
argocd-application-controller-66fbf66657-ghf2c   1/1     Running   0          6d17h
argocd-application-controller-66fbf66657-gpm7d   1/1     Running   0          6d17h
argocd-application-controller-66fbf66657-tr5kd   1/1     Running   0          6d17h
argocd-dex-server-5c5f986596-c8ftv               1/1     Running   0          9d
argocd-redis-ha-haproxy-69c6df79c6-2fxd6         1/1     Running   0          9d
argocd-redis-ha-haproxy-69c6df79c6-mksg2         1/1     Running   0          9d
argocd-redis-ha-haproxy-69c6df79c6-wq57f         1/1     Running   0          9d
argocd-redis-ha-server-0                         2/2     Running   0          9d
argocd-redis-ha-server-1                         2/2     Running   0          9d
argocd-redis-ha-server-2                         2/2     Running   0          9d
argocd-repo-server-76bbb56cc7-d8fp5              1/1     Running   0          7d
argocd-repo-server-76bbb56cc7-qvl5z              1/1     Running   0          7d
argocd-repo-server-76bbb56cc7-xqrfn              1/1     Running   0          7d
argocd-server-6464c7bcd-fgktr                    1/1     Running   0          6d19h
argocd-server-6464c7bcd-jkqdb                    1/1     Running   0          6d19h
argocd-server-6464c7bcd-nfdwn                    1/1     Running   0          6d19h
Copy
 1
 2
 3
 4
 5
 6
 7
 8
 9
10
11
12
13
14
15
16
17
apiVersion : extensions/v1beta1
kind : Ingress
metadata :
name : argocd-server-ingress
namespace : argocd
annotations :
kubernetes.io/ingress.class : traefik
traefik.ingress.kubernetes.io/redirect-entry-point : https
spec :
rules :
- host : cd.testcn
http :
paths :
- backend :
serviceName : argocd-server
servicePort : https
path : /
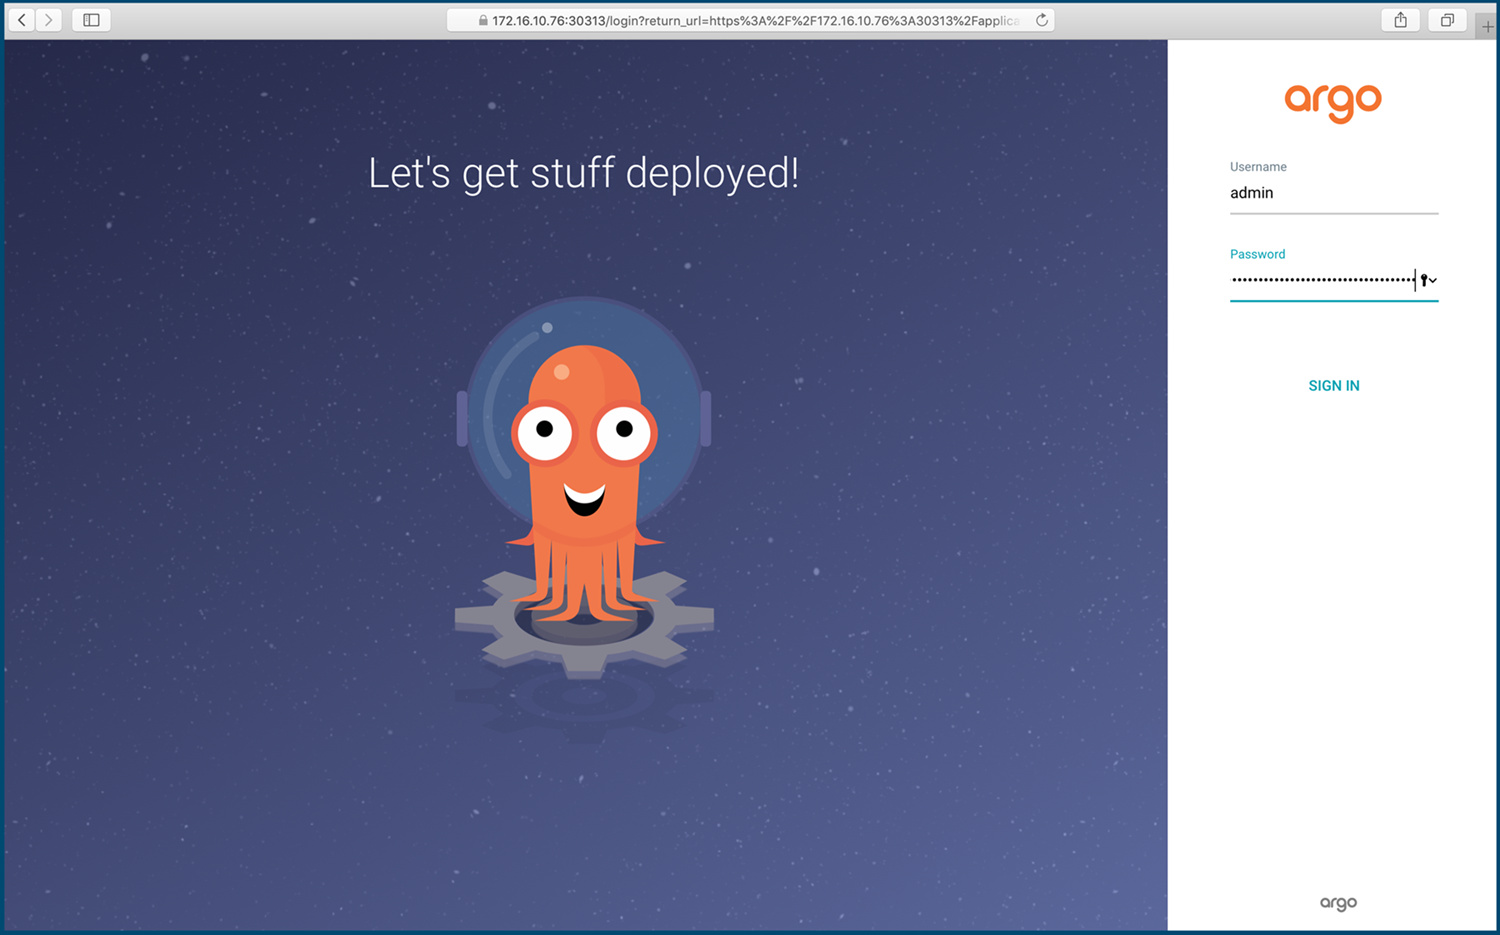
Access ArgoCD via https://cd.test.cn/. The default username is admin, and the password is the name of one of the pods. Retrieve the password using:
Copy
1
# kubectl get pods -n argocd -l app.kubernetes.io/name=argocd-server -o name | cut -d'/' -f 2
User Management
ArgoCD defaults to local users but supports LDAP integration. Manage local users by editing the argocd-cm ConfigMap. To add a user:
Copy
 1
 2
 3
 4
 5
 6
 7
 8
 9
10
11
12
apiVersion : v1
kind : ConfigMap
metadata :
annotations :
labels :
app.kubernetes.io/name : argocd-cm
app.kubernetes.io/part-of : argocd
name : argocd-cm
namespace : argocd
data :
accounts.chlai : apiKey,login # Allows login and API key generation
users.anonymous.enabled : "true" # Enables anonymous login
Changes take effect immediately after saving.
By default, two roles exist: readonly and admin. Grant admin privileges by modifying the argocd-rbac-cm ConfigMap:
Copy
 1
 2
 3
 4
 5
 6
 7
 8
 9
10
11
12
apiVersion : v1
kind : ConfigMap
metadata :
labels :
app.kubernetes.io/name : argocd-rbac-cm
app.kubernetes.io/part-of : argocd
name : argocd-rbac-cm
namespace : argocd
data :
policy.csv : |-
g, chlai, role:admin
policy.default : role:readonly # Anonymous users default to readonly role
To generate a login password, use the admin user via CLI to log in to the server, then update the password with:
Copy
1
2
3
4
5
6
argocd login <argocd-server>
argocd account list
argocd account update-password \
\
\
Log in to the ArgoCD web UI using the new user password.
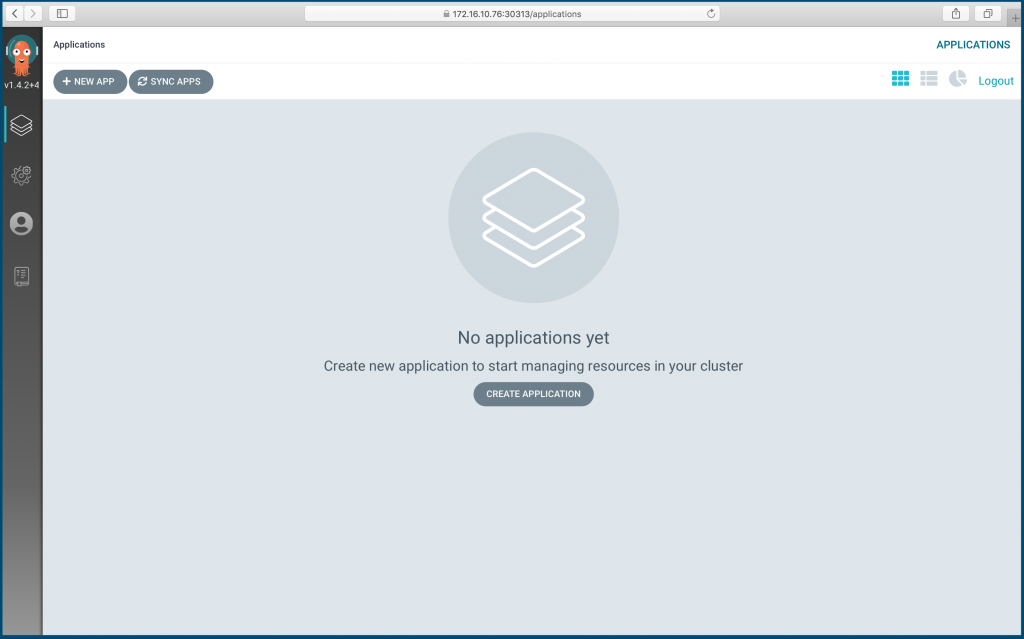
Creating Applications via ArgoCD UI
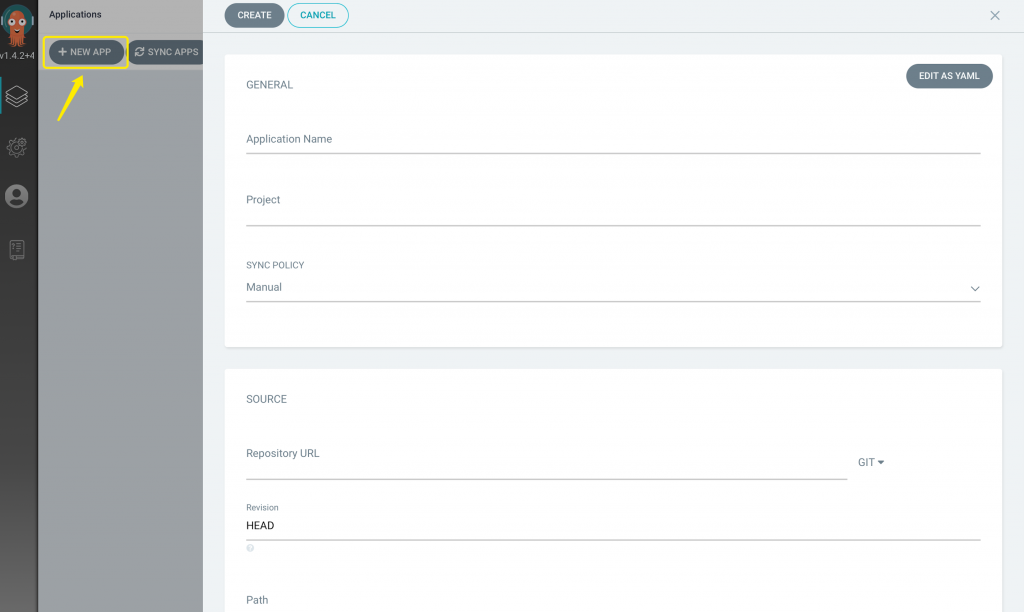
Click the + NEW APP button to create an application.
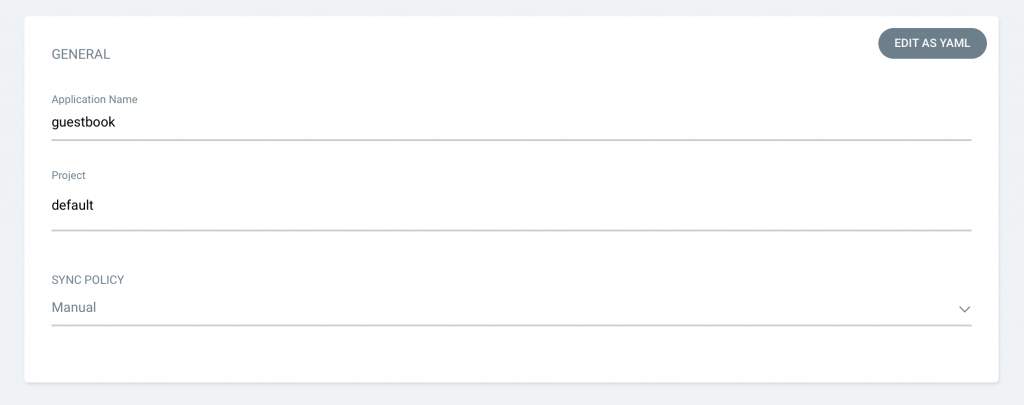
Fill in the application details:
Name: guestbook
Project: default
Sync Policy: Manual
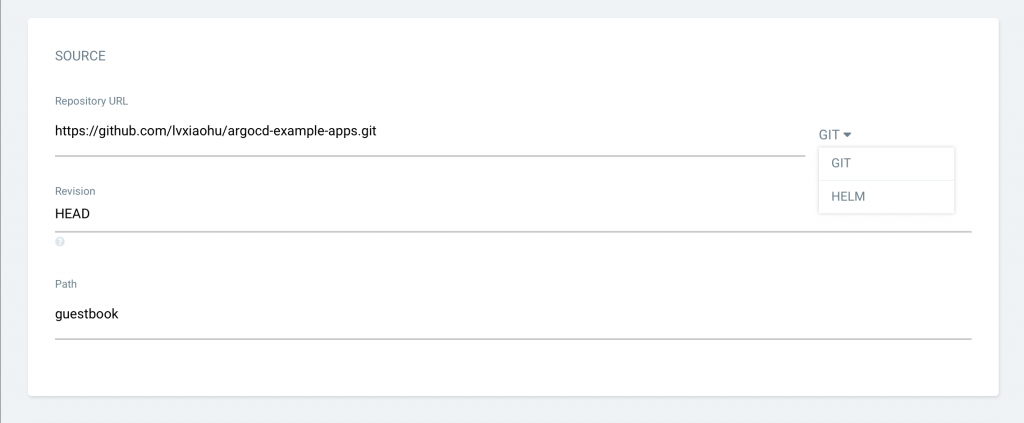
Configure the source. Here, use Git; set the repository URL to: https://github.com/argoproj/argocd-example-apps.git; select HEAD as Revision; choose the path: guestbook.
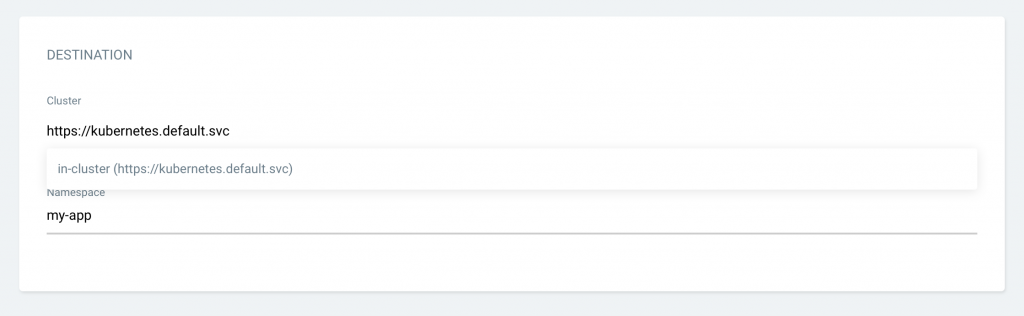
Select the target cluster for deployment: https://kubernetes.default.svc. Since ArgoCD is deployed within a Kubernetes cluster, it has already registered the current cluster—use it directly. Set Namespace to my-app. Create this namespace in Kubernetes using: kubectl create namespace my-app.
After filling in all fields, click CREATE .
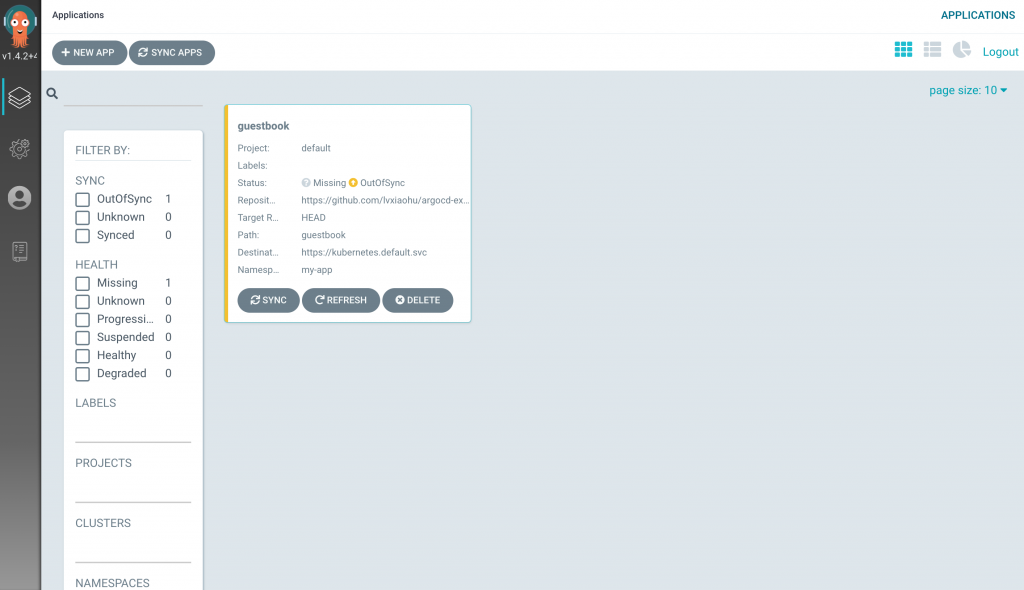
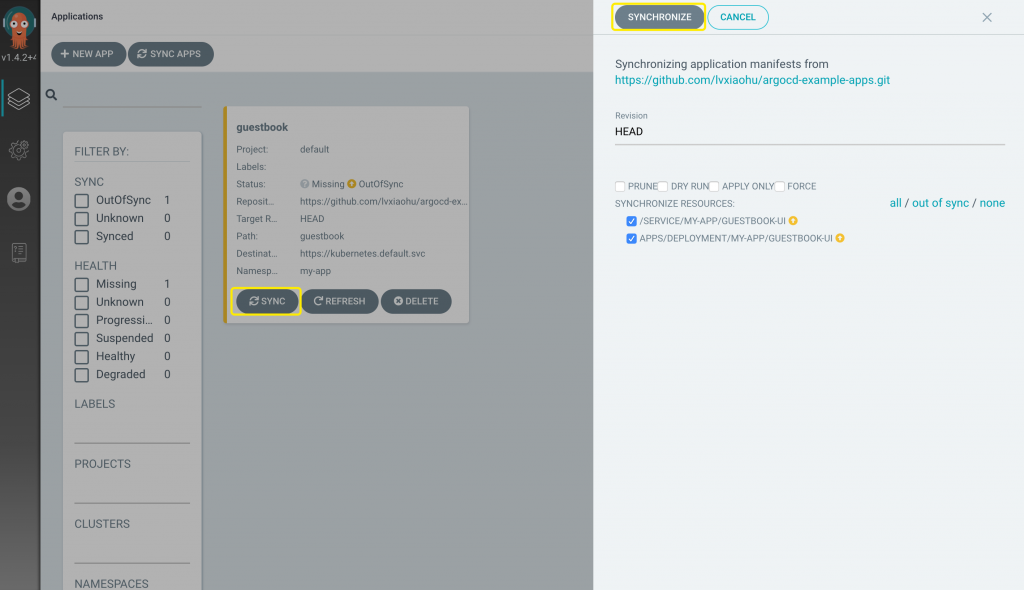
Since the application hasn’t been deployed yet and no Kubernetes resources have been created, the status remains OutOfSync. Click SYNC to synchronize (deploy). You can also install the ArgoCD CLI and sync via command: argocd app sync guestbook.
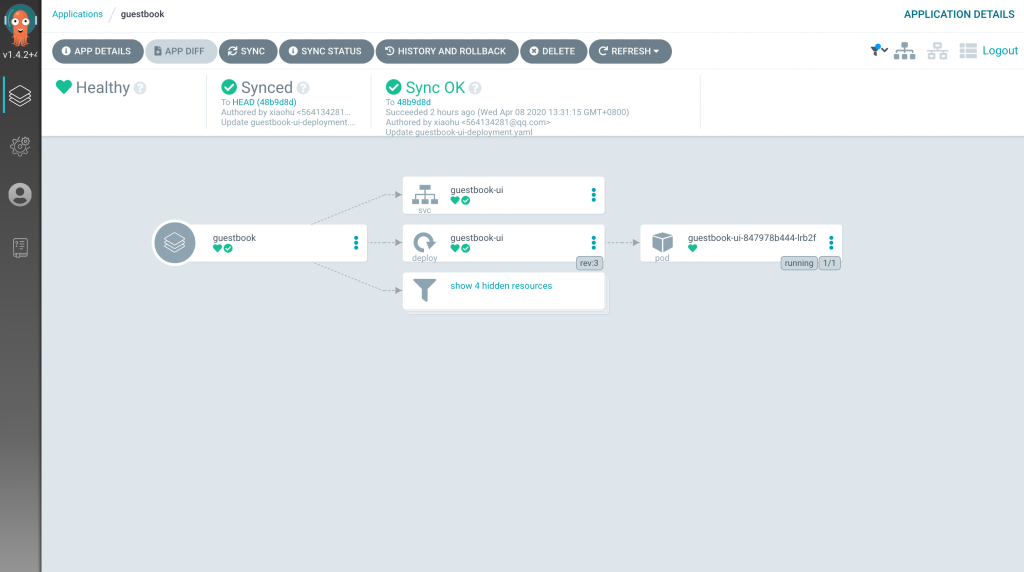
The application is now created but still OutOfSync. Manually sync to start deployment.
Wait for the application to be fully deployed.
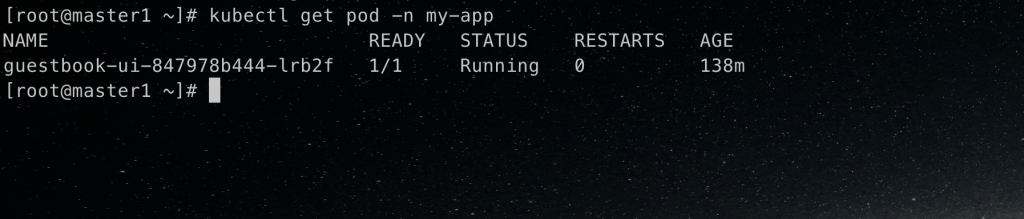
Check the application in the Kubernetes cluster.